
The water we use in our houses almost always comes from subsurface sources (rivers, streams, and aquifers). This means the water runs through or sits on rocks containing various minerals, elements, and other pollutants. Most of these components dissolve in this water and may end up in our taps.
Installing a Water Softener in a Pre-Plumbed House
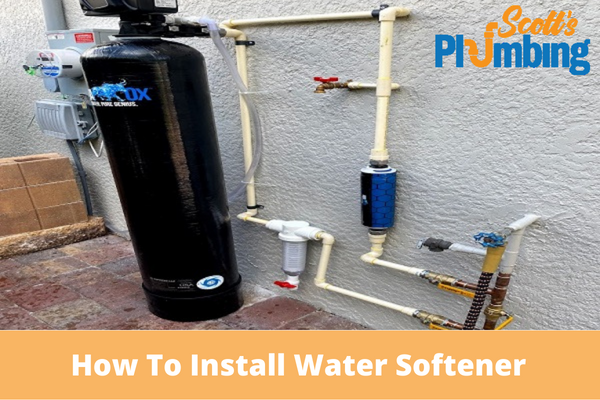
If hard water has been a major issue in your home, here’s how to install a water softener in a pre-plumbed house.
Requirements:
- a measuring tape
- pliable tubes
- cutters for pipes
- copper fixtures
- gate valves and pipe wrenches
- copper tubing/pipe
- PVC solvent/flux PVC tape
- fittings for compression
- union connections
- soldering iron and torch
Turn Off The Primary Water Supply Line
First and foremost, ensure that no water is flowing through your pipes. This will help avoid plumbing leaks and flooding in your home. Run the taps in the lowest portions of the house to drain all the water.
Turn Off The Electricity To Your Electric Water Heater
If you have an electric water heater, always turn it off from the main switch. Do not proceed with the installation unless you have done so.
Determine The Location Of Your Water Softener Installation
The sort of water softener you intend to install can impact the location. If installing a whole-house system, place it at the entry point of your home’s primary water line. This is typically done before the water is routed to the heater to ensure that only softened water enters the heater.
Remove The Main Water Line
Fasten a pipe cutter to the main water line and rotate it to cut it. While doing so, make sure you have a bucket beneath it to catch any water that may drip from the pipe.
Install Your Water Softener
Bring in the water softener and make sure it’s in the exact location where you want it. Also, make sure that it is situated on level ground.
Putting In The Elbow Fitting
The elbow fitting is simple to install and allows you to guide the water into the filter. You can also install a bypass valve, allowing water to bypass the softener entirely.
Pipes Must Be Measured, Cut, And Installed
To begin, measure the length of the pipes and cut them, so they reach the bypass valve from the unit. Connect compression fittings and nipples to these pipes to improve their grip on the water softener. Finally, install the lines and check their fit.
Attach The Drain Hose
After connecting your pipes to the water softener and installing the bypass valve, the system still needs a drainpipe. Connect a drainpipe to the system’s drain hole about 2 inches away. This prevents brine water from being sucked back into the softener.
Connect An Overflow Tube
This is attached to the brine tank to prevent overflow. Check the manufacturer’s directions for height and other placement requirements.
Conclusion
Hard water should no longer trouble you now that you know how to install a water softener in a pre-plumbed residence. However, if you are unsure about the process, always seek the assistance of a skilled plumber. At Scott’s Plumbing, we offer the highest quality plumbing services in the area. For more details about our water softener installation services, contact us today!