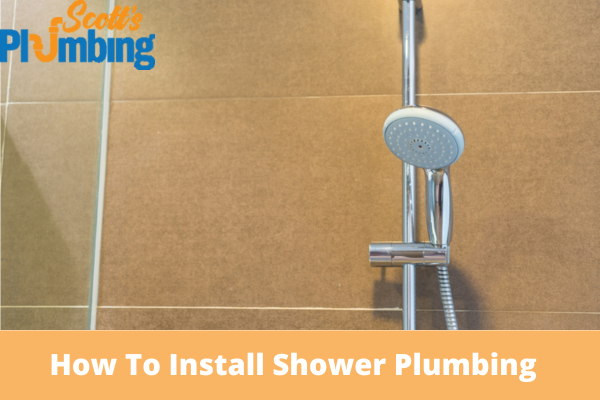
The elements that make up a shower’s plumbing system are shower plumbing fixtures. Some examples include the shower valve, which regulates water flow and temperature, the shower trim kit, which covers the valve and adds ornamental components; and the shower arm, which joins the valve and showerhead. Some showers could also incorporate a handheld showerhead with a hose for increased versatility. The shower drain gathers and drains water from the basin and is also a crucial device. Together, these components create a practical and pleasurable showering experience.

Steps In Installing Shower Plumbing Fixtures
Depending on the kind and style of the fixtures and local plumbing standards and restrictions, the precise methods for installing shower plumbing fittings may change. Nonetheless, the overall process for installing shower plumbing fittings is outlined here:
Remove Old Fixtures (If Applicable)
You must remove the old fixtures before installing the new ones, such as a showerhead or shower valve. Take the proper precautions to avoid damaging the pipes or the surrounding materials while disconnecting and removing the current fixtures.
Prepare The Area
Ensure the space is clear of impediments and debris before the new fixtures are fitted. Adjust or repair the plumbing as necessary, including replacing or fixing broken pipes or fittings.
Install New Fixtures
The manufacturer’s instructions were to install the new shower plumbing fixtures. Installing the shower trim kit, which contains any decorative covers, knobs, or handles, and the hot and cold water supply lines to the shower valve, may be necessary.
Make Watertight Connections
To ensure all connections are waterproof and leak-free, use the proper fittings, such as soldering or threaded connections. Use reasonable procedures to seal leaks using pipe joint compound or plumber’s tape as necessary.
Test For Leaks And Functionality
Turn on the water supply after all the fixtures are in place, and check the shower for leaks or other problems. Check the water flow, temperature control, and other features to confirm that the fixtures operate correctly.
Make Adjustments And Final Touches
To confirm that the fixtures are correctly placed and operating as intended, make necessary changes or repairs, such as tightening connections or adjusting knobs or handles. Put any last-minute ornamental components or coverings in place to finish the installation.
Clean Up And Finalize
Clean up any leftover materials or debris from the installation procedure when it is over, and make sure the space is kept orderly and clean.
Conclusion
A functioning and dependable shower system depends on adequately installing shower plumbing components. It ensures the equipment functions as planned, ensuring a secure and pleasurable showering experience. Leaks, drip, and other plumbing problems that might result in water damage and expensive repairs are also prevented by proper installation. Critical installation stages include following the manufacturer’s instructions, using the correct fittings, and ensuring all connections are waterproof.
To ensure that your shower plumbing fittings are put in correctly and to prevent any problems in the future, it’s essential to call Scott’s Plumbing. Our skilled plumbers will ensure that your plumbing is installed correctly, from the initial installation of your shower components to their ongoing maintenance. Call now!


