
Hard water, laden with excessive minerals, can wreak havoc on your plumbing, appliances, laundry, and even your skin and hair. Many homeowners are turning to water softeners, a specialized type of water filtration system designed to remove these hard minerals from your water to combat these issues. Installing a water softener in a pre-plumbed home makes the process more efficient, as these homes come prepared for such installations.
If you’re considering adding a water softener to your pre-plumbed home, you’re in the right place. This article will lead you through each process so that you can start enjoying the amazing benefits of softened water as soon as possible.

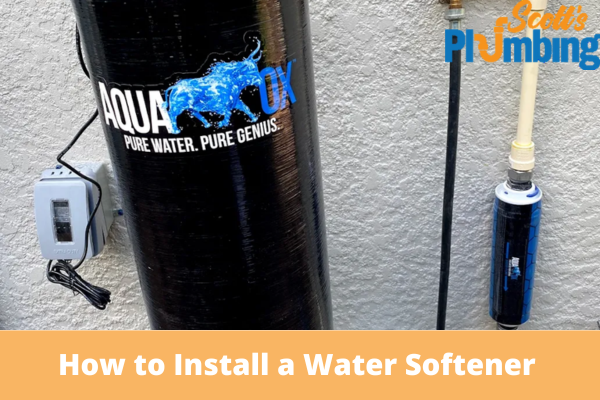
Identify Your Water Softener Location
Typically, a pre-plumbed home will have a loop or stub-out in the garage or a utility room where you can install the water softener. This designated location will be pre-fitted with a drain, a water line, and an electrical outlet.
Prepare Your Water Softener
Start by reading the manufacturer’s instructions carefully. Unpack your water softener and make sure all parts are included and undamaged.
Turn Off the Main Water Valve
To avoid flooding the area, water softener installation must precede turning off the main water supply.
Install the Bypass Valve
The water softener can be bypassed during maintenance or other activities by temporarily opening the bypass valve. Install the water softener’s bypass valve by the manufacturer’s instructions.
Connect the Water Softener
Install the water softener’s plumbing connections into the existing plumbing. A wired or wireless network connection in your home should be ready. The connection to the water softener could be a loop or a stub-out. Attach the water softener’s inlet pipe to the unit’s inlet and the output pipe to the unit’s outlet.
Attach to the Drain
Connect the water softener’s drain hose to the drain point you made. Leaks can be avoided if the hose is fitted properly.
Set Up the Brine Tank
The softener can be regenerated with the help of the salt or potassium stored in the brine tank. Install it next to your water softener and link it to the supplied tubing.
Turn on the Water
Once the pipes are in place, the water can be turned on gradually. Ensure the water softener is working properly and there are no leaks.
Set Up and Program the Unit
Last but not least, set the water softener’s controls as directed. You can adjust things like water hardness and family size here.
Wrapping Up
If you follow these instructions, you’ll soon have softened water in every tap in your house. DIY is great if that’s your thing, but don’t be afraid to call in the experts if you run into trouble.At Scott’s Plumbing, we have extensive experience installing water softeners, even in homes with plumbing installed. Our certified plumbers can install your water softener quickly and efficiently, so you can enjoy reaping the benefits of soft water right away. There’s no reason to hold off, then. We can begin installing your water softener as soon as you call.