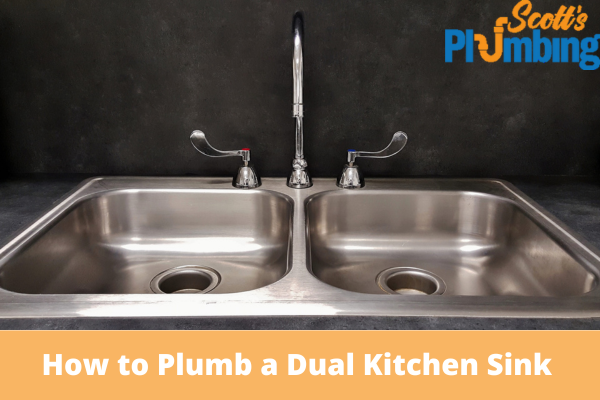
When your kitchen sink is clogged, it can be frustrating and inconvenient. However, installing a dual kitchen sink can be a game-changer, offering enhanced functionality and making everyday tasks easier to manage. Whether you’re dealing with a stubborn clog or want to prevent future issues, plumbing a dual kitchen sink may initially seem daunting. But fear not; you can complete the project successfully with the right tools and a systematic approach.

Step 1: Prepare the Workspace
Before you start, clear the area under the kitchen sink and remove any existing plumbing connections. This will give you ample space to work and ensure no obstructions are in the way.
Step 2: Measure and Plan
Measure the cabinet space under your kitchen sink to ensure your dual sinks fit properly. Use these measurements to position the sinks, faucets, and filters appropriately. Ensure enough space between the two sinks for comfortable daily use.
Step 3: Install the Faucets and Strainers
Follow the manufacturer’s instructions to install the faucets and strainers onto each sink. Apply a thin layer of plumbers putty around the filter’s lip before fitting it into the sink’s drain hole. Secure the filter from beneath using the provided locking nut. For the faucets, use plumbers’ tape to seal the threads before attaching them to the sink.
Step 4: Assemble the Drain Pipe
Using PVC drain pipes and connectors, create the assembly that will connect both sink drains to the main drainpipe. Cut the PVC pipes to the appropriate lengths using a hacksaw, ensuring a proper fit between the sinks and the main drain.
Step 5: Install P-Traps
Attach P-traps to the bottom of each sink’s drain assembly. A P-trap is a curved section of pipe that helps prevent foul odors from entering your kitchen by holding a small amount of water in the bend. Connect the other end of the P-traps to the PVC drain pipes.
Step 6: Connect to the Main Drainpipe
Carefully align the PVC drainpipe assembly with the main drainpipe that extends from the wall. Use connectors to join the two pipes securely. Double-check for any leaks or loose connections and make adjustments as needed.
Step 7: Test the Plumbing
With the installation complete, it’s time to test the plumbing. Turn on the water supply and let water flow into both sinks simultaneously. Check for any leaks around the faucets, filters, and drainpipe connections. Tighten the connections until they are secure if you find any leaks.
Step 8: Ensure Proper Drainage
Fill both sinks with water and then let them drain simultaneously. Observe the drainage process to ensure no clogs, and that water flows smoothly through the drainpipe and out of the main drain. Make any necessary adjustments to prevent water pooling in either sink.
Conclusion
By following this step-by-step guide and using the appropriate materials, you can enjoy the added convenience and functionality of your new dual kitchen sink for years to come. At Scott’s Plumbing, we are committed to providing helpful resources and guidance to tackle plumbing projects independently. Remember, if you encounter any challenges, don’t hesitate to seek our advice or a professional plumber’s assistance.


